Presence
Set up and Initialize SDK#
The Flybuy SDK must be initialized when the application starts in order to configure the app authorization token and handle appropriate lifecycle methods.
Important: Complete all steps in the Android and iOS Setup guides.
Module Installation#
Native Initialization#
Android#
Modify android/app/build.gradle
Modify MainApplication.kt
iOS#
Modify iOS/yourproject/AppDelegate.mm
Bluetooth Permissions#
Flybuy Presence uses Bluetooth on the mobile device to send locate and send order information to the store. iOS requires additional permissions for this. Refer to the Setting Permissions section of the setup guides for iOS for details. If the app already asks for Bluetooth permissions for other purposes, this may not be necessary.
Start a Locator#
Create and start a Presence Locator. A Presence Locator is a Bluetooth advertisement that can transmit information to the Flybuy Gateway from a mobile device in a specific spot.
Params#
| Name | Type | Example |
|---|---|---|
| presenceId | Str | '12345678' |
| payload | Str | "{'key':'value'}" |
Example#
Stop a Locator#
Stop the Presence Locator when the transaction is complete.
Params#
| Name | Type |
|---|---|
| None | None |
Example#
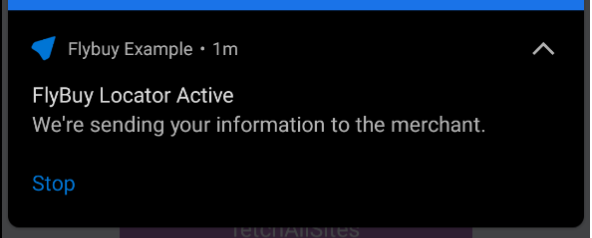
Android Service Notification#
When there is an active locator, the Flybuy SDK runs a foreground service for broadcasting the locator. Foreground services on Android require a notification while it is running, To override the default values of notification title, content, and icon, please refer to Android Service Notification Docs.